If you are ready to add your favourite music to a Creative Tonie, here's a simple, friendly guide to walk you through the process. Whether you're new to the Tonie system or looking to refresh your playlist, follow these steps to upload and enjoy custom audio on your Creative Tonie.
What You Need Before You Start
To ensure a smooth setup, make sure you have the following:
A Toniebox connected to Wi-Fi
A phone with the Tonies app (or access to my.tonies.com on a computer)
Your Creative Tonie ready to be customised
Supported Music Formats
Before uploading, check that your music files are in one of the supported formats. Tonies accepts files in MP3, AAC, WAV, and more. However, streaming services like Spotify or Apple Music aren’t supported due to encrypted formats.
Supported Formats:
MP3, AAC, AIFF, FLAC, M4A, M4B, OGG, WAV, WMA.
Limitations To Keep In Mind:
Your Creative Tonie can hold up to 90 minutes of audio.
Streaming services and encrypted files (e.g., from Spotify or Apple Music) cannot be uploaded.
Step 1: Upload Music Using the Tonies App
For most users, the easiest way to upload is through the Tonies app.
Open the Tonies app on your phone.
Go to the Mine tab, then navigate to your Tonies collection grid.
Select the Creative Tonie you want to upload music to.
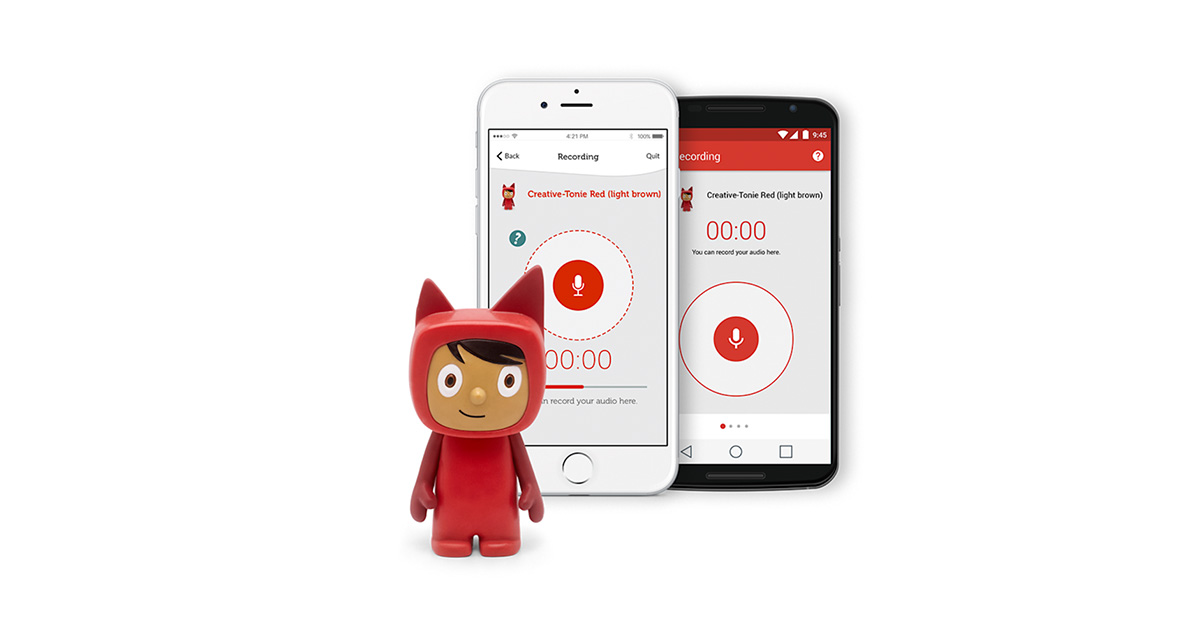
Tap the upload icon and choose your music files. (You can also record directly in the app using the microphone option.)
Once uploaded, sync your Toniebox by holding one ear for 3 seconds until the light turns blue, then place your Creative Tonie on top. The music will download while it plays.
Step 2: Upload Music via my.tonies.com on Your Computer
Alternatively, if you prefer using a computer, you can upload your music through the my.tonies.com website.
Log in to my.tonies.com.
Navigate to the Creative Tonies section and select the Tonie you want to edit.
Click Edit Content.
Drag and drop your music files into the upload box, or browse to select them.
Click Save Content to upload your music.
Sync your Toniebox by following the same ear-holding method to ensure the new content is downloaded.
Step 3: Sync and Play Music on Toniebox 1 & Toniebox 2
Once your music is uploaded, it’s time to sync your Toniebox to download and play the new tracks.
For Toniebox 1:
Turn on your Toniebox, remove any Tonie, then hold one ear for about 3 seconds until the light turns blue. After the sync process is complete (when the light turns green), place your Creative Tonie on top to download and play the music.
For Toniebox 2:
Changes made in the app sync automatically when the Toniebox is connected to Wi-Fi.
To speed up syncing, hold one ear for 3 seconds to prompt the update, then place the Creative Tonie on top.

Troubleshooting Common Issues
If your new music isn’t playing, here are a few solutions to try:
Toniebox 1: Always sync after uploading by holding an ear for 3 seconds to start the syncing process.
Toniebox 2: Ensure it's connected to Wi-Fi for automatic syncing.
Creative Tonie Not Appearing: If it's linked to another household, you might need to wait for the previous owner to release it.
Locked Creative Tonie: Check if it’s linked to a different household. You may need to change settings or sync the Toniebox.
Conclusion
Adding music to your Creative Tonie is quick and easy once you get the hang of it. Whether you’re using the Tonies app on your phone or the tonies website on a computer, the steps are simple and can be done from anywhere. After syncing, enjoy your new playlist with your little one on the Toniebox!